首先介绍一下开展本次尝试的需求背景:
该项目是一个 Web 大屏应用。有时在演示的时候,因为投影质量差的问题,如果字体不够大,就很难看清内容。产品提议开发一个放大功能,在点击某模块的时候能够放大展示。
延申的需求分析:
尽可能保留组件中的各类交互,如果无法实现才使用快照。
因为大屏开发的元素排列较为紧密,因此没有做 CSS 的屏幕比例适应。如果改变了模块的宽高大小,可能放大后会造成样式偏差。而且,对每个模块都定制放大的 CSS 也不太可能,成本过高。因此,尽可能在保留原始模块元素大小的基础上,使用 transform: scale 来进行放大。
保证放大显示区域在最上层。根据本应用的结构,将放大显示区域插入#app 节点中。
关闭的方式。可以设计成点击遮罩关闭。
在完成最终开发的过程中,尝试了三种方法,最终综合考虑实现难度和实现效果选择了其中一种。
实现结果
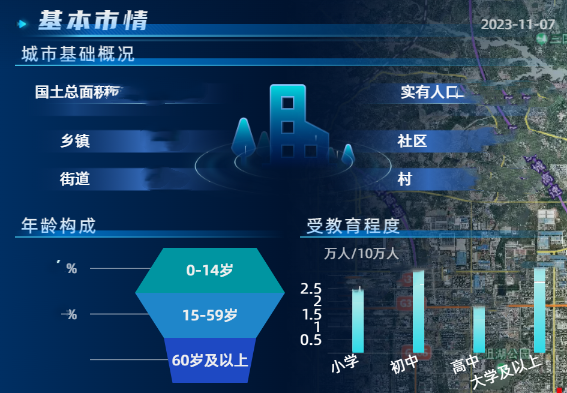
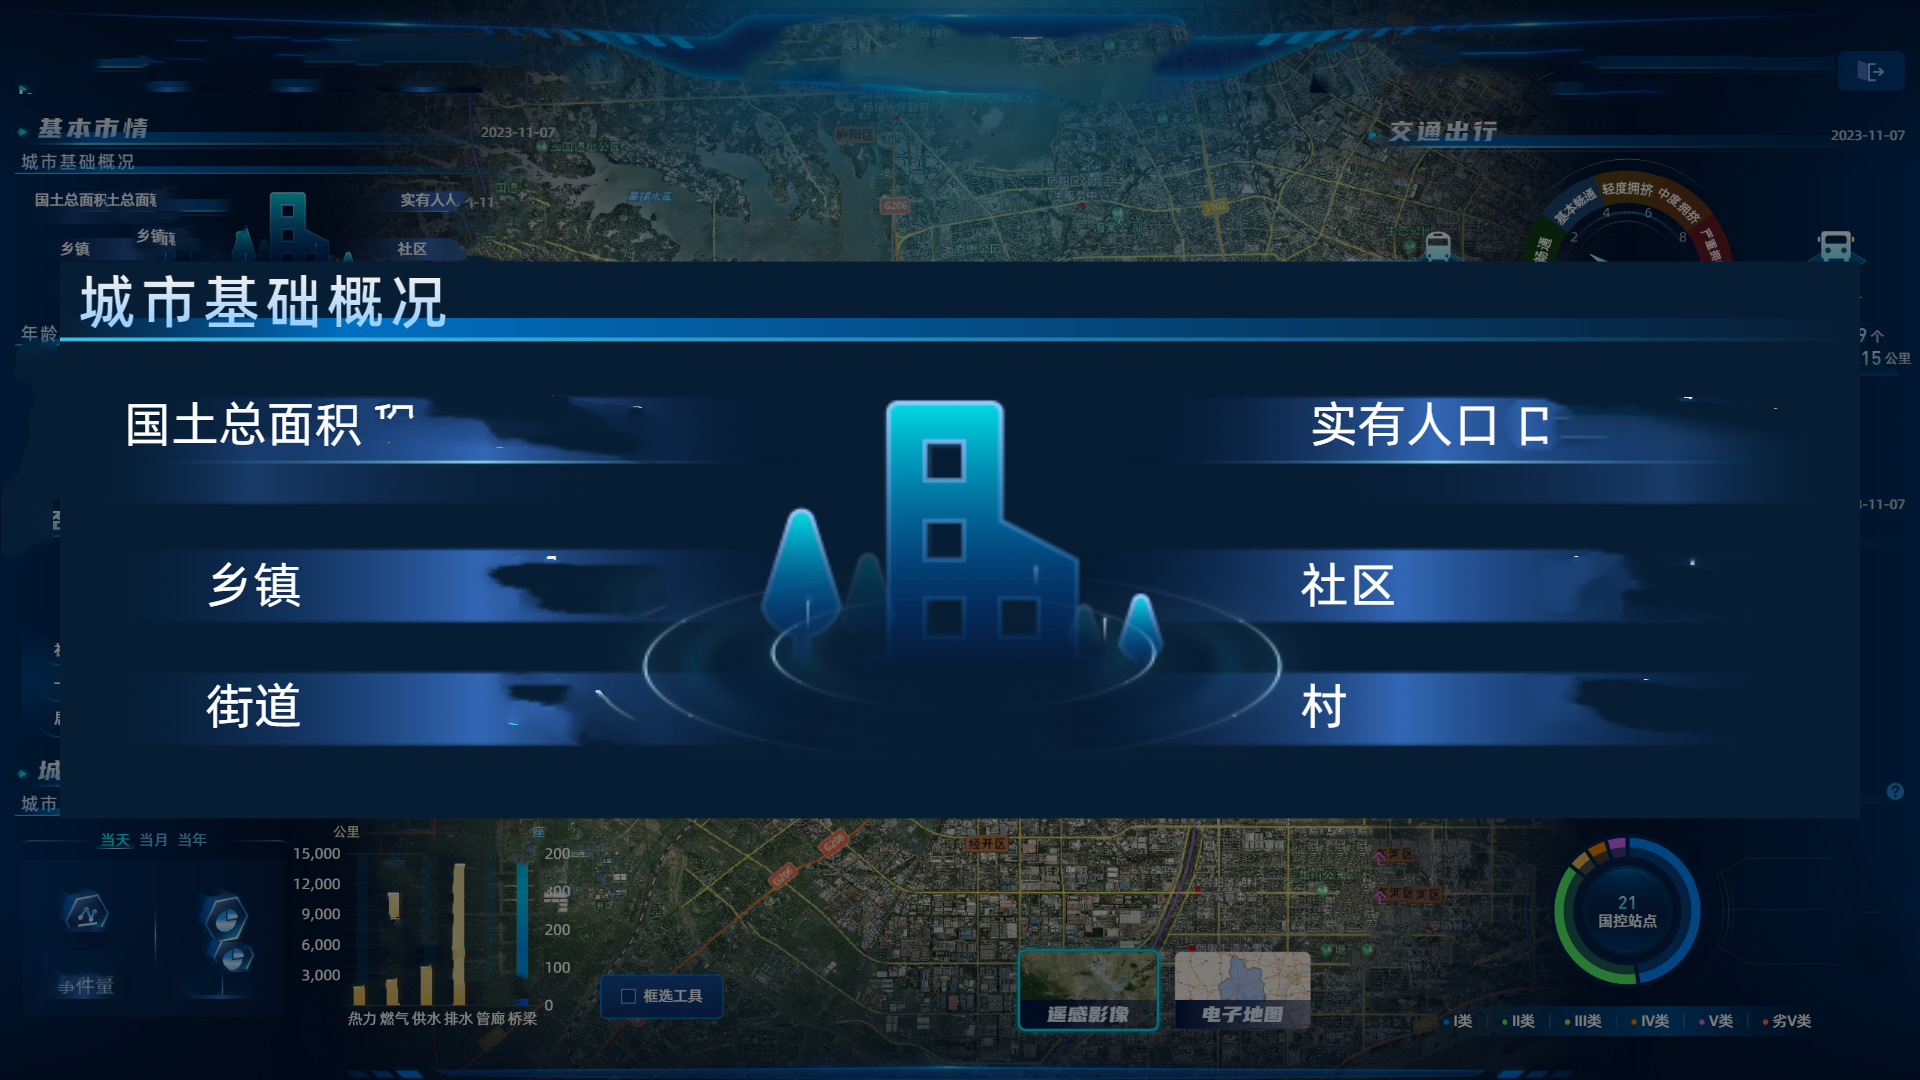
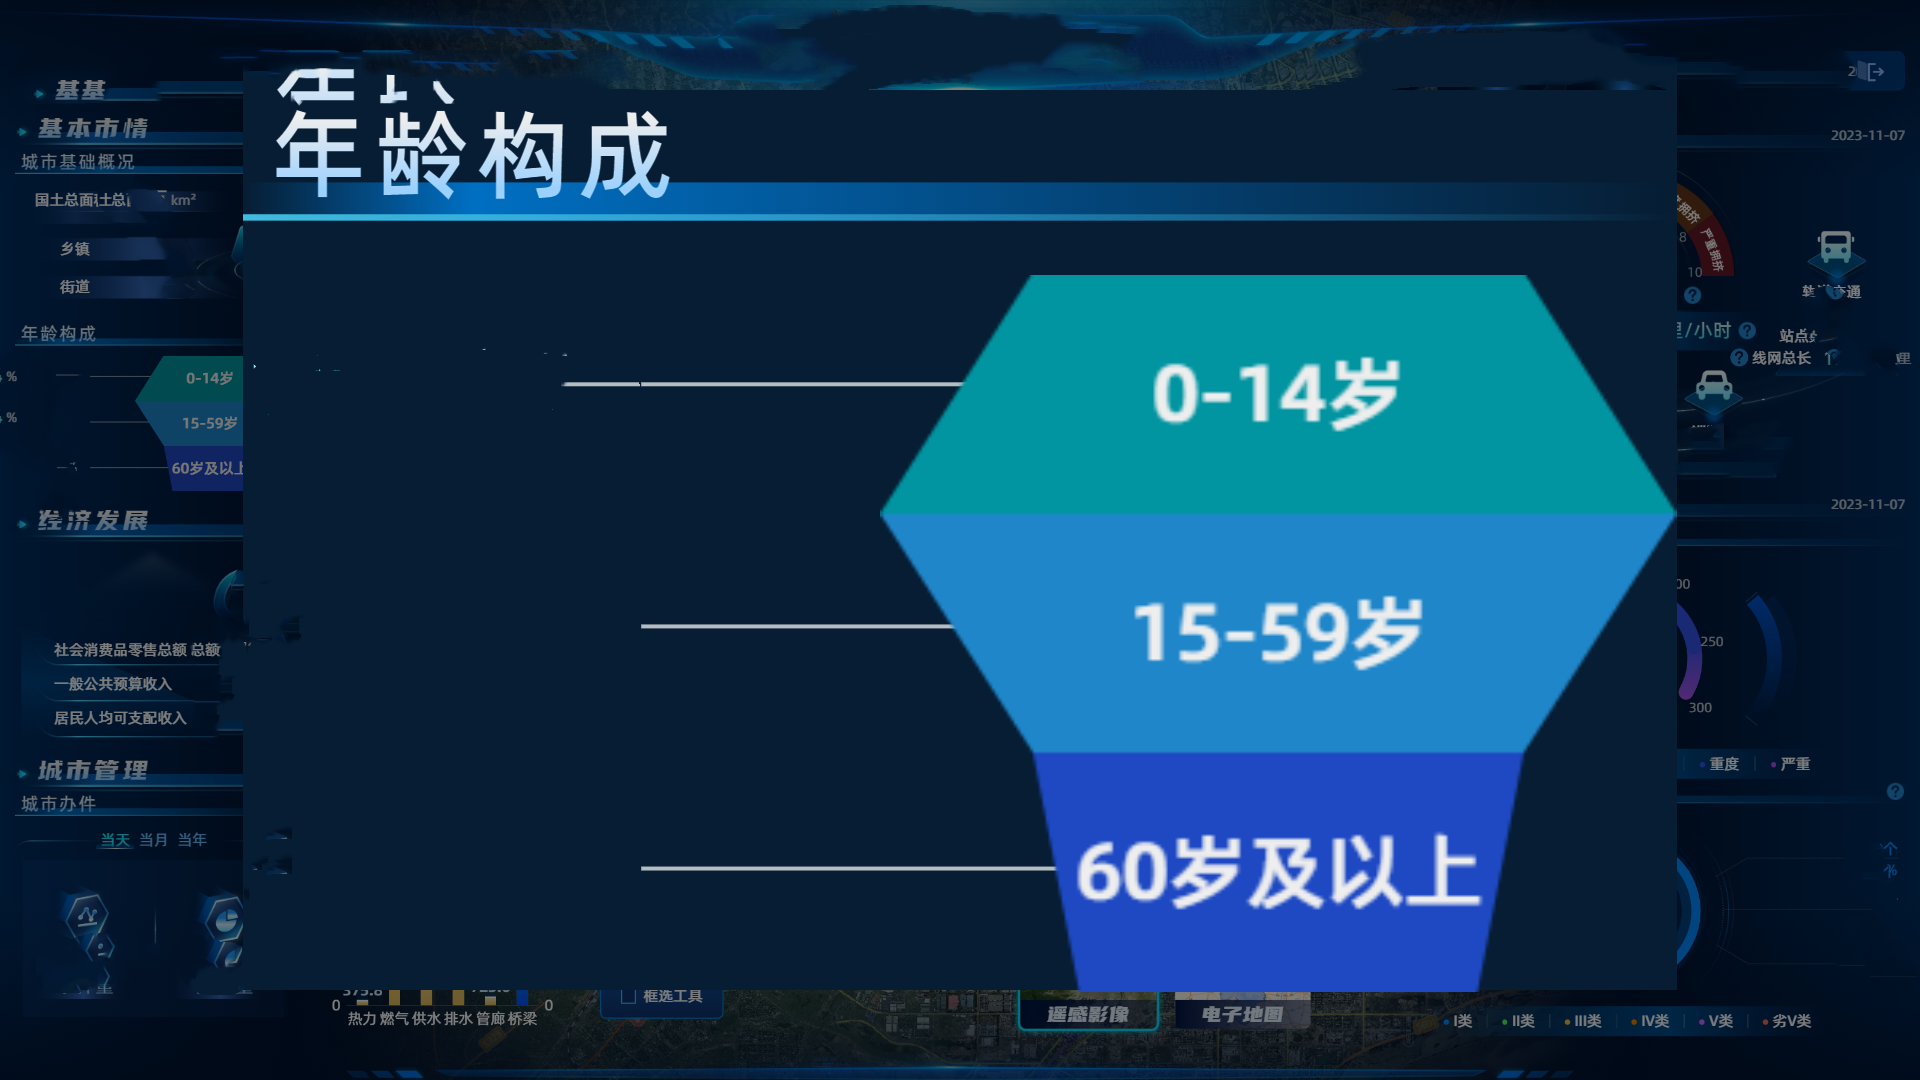
项目中的真实实现效果如图,所有数据已用劣质工具打码……


基础的放大显示区域组件
enlarge-wrapper.vue1
2
3
4
5
6
7
8
9
10
11
12
13
14
15
16
17
18
19
20
21
22
23
24
25
26
27
28
29
30
31
32
33
34
35
36
37
38
39
40
41
42
43
44
45
46
47
48
49
50
51
52
| <template>
<div v-show="component" id="EnlargeWrapperArea">
<div id="EnlargeWrapperAreaMask" @click="close"></div>
<div id="EnlargeWrapper" :style="{ width: finalWidth + 'px', height: finalHeight + 'px' }"></div>
</div>
</template>
<script>
export default {
data() {
return {
component: null,
initialWidth: 0,
initialHeight: 0,
finalWidth: 0,
finalHeight: 0,
scale: 1,
};
},
}
</script>
<style scoped>
#EnlargeWrapperArea {
position: absolute;
top: 0;
right: 0;
bottom: 0;
left: 0;
z-index: 9999;
}
#EnlargeWrapperAreaMask {
position: absolute;
top: 0;
right: 0;
bottom: 0;
left: 0;
background: rgba(0, 0, 0, 0.5);
}
#EnlargeWrapper {
position: absolute;
top: 0;
right: 0;
bottom: 0;
left: 0;
background: #061d33;
margin: auto;
}
</style>
|
将该组件插入 body 或#app 节点下,设置为一个最高层级的覆盖物。
方法一:cloneNode
这个方法的核心是使用 cloneNode 方法进行 DOM 节点复制。
enlarge-wrapper.vue1
2
3
4
5
6
7
8
9
10
11
12
13
14
15
16
17
18
19
20
21
22
23
24
25
26
27
28
29
30
31
32
33
34
35
36
37
38
39
40
41
42
43
44
45
46
| export default {
methods: {
handler(component, initialWidth, initialHeight) {
if (!component || !initialWidth || !initialHeight) {
return;
}
this.initialWidth = initialWidth;
this.initialHeight = initialHeight;
const maxWidth = 2400, maxHeight = 1200;
const maxWidthScale = maxWidth / this.initialWidth, maxHeightScale = maxHeight / this.initialHeight;
this.scale = Math.min(maxWidthScale, maxHeightScale);
this.finalWidth = this.initialWidth * this.scale;
this.finalHeight = this.initialHeight * this.scale;
const el = component.cloneNode(true);
el.style.width = this.initialWidth;
el.style.height = this.initialHeight;
el.style.transform = `scale(${this.scale})`;
el.style.transformOrigin = 'top left';
const parent = document.querySelector('#EnlargeWrapper');
if (!parent) {
return;
}
parent.appendChild(el);
this.component = el;
},
close() {
const component = this.component;
this.component = null;
if (component) {
component.remove();
}
}
}
}
|
优点:可以以较快的速度生成 HTML 节点快照,一般情况下对静态 HTML、CSS 的渲染效果很好。
缺点:丢弃了所有的 JavaScript,因此无法交互,并且没有成功渲染 ECharts 图表。
方法二:html2canvas
第二个尝试,考虑用 html2canvas 将代码转为 canvas 来展示。
首先需在项目中下载 html2canvas 依赖库:
1
2
3
| npm install html2canvas
yarn add html2canvas
|
然后只需修改方法一的部分代码:
enlarge-wrapper.vue1
2
3
4
5
6
7
8
9
10
11
12
| import html2canvas from 'html2canvas';
export default {
methods: {
async handler(component, initialWidth, initialHeight) {
const el = await html2canvas(component);
},
}
}
|
优点:一般情况下对静态 HTML、CSS 的渲染效果较好,而且如果有需求可以保存canvas,导出图片。
缺点:生成速度较慢;放大后画质的损失略大于方法一;同样也无法交互;不支持高级的CSS属性,对于复杂的元素也经常有各种各样的问题。
方法三:重新挂载Vue组件
先决条件:目标模块是一个可以独立运行的组件。
首先需要在EnlargeWrapper组件中增加一个<component>,以渲染Vue组件。如果使用标签定义元素,则可以直接在<component>标签中定义样式,而无需通过DOM对象来给style属性赋值。
enlarge-wrapper.vue1
2
3
4
5
6
7
8
9
10
11
12
13
14
15
16
17
| <template>
<div v-show="component" id="EnlargeWrapperArea">
<div id="EnlargeWrapperAreaMask" @click="close"></div>
<div id="EnlargeWrapper" :style="{ width: finalWidth + 'px', height: finalHeight + 'px' }">
<component
:is="component"
style="transform-origin: top left"
:style="{
width: initialWidth + 'px',
height: initialHeight + 'px',
transform: `scale(${scale})`,
}"
></component>
</div>
</div>
</template>
|
然后更改handler和close方法,把DOM操作的部分移除。
enlarge-wrapper.vue1
2
3
4
5
6
7
8
9
10
11
12
13
14
| export default {
methods: {
handler(component, initialWidth, initialHeight) {
this.component = component;
},
close() {
this.component = null;
}
}
}
|
如何获取传给handler的component参数:
在目标模块的父组件中,通常注册方法是这样的:
1
2
3
4
| import ComponentA from '[path]';
export default {
components: { ComponentA },
};
|
这种情况下,methods中比较难获取到组件模板,即ComponentA这个引用常量。
因此可以将代码修改成这样:
1
2
3
4
5
| import ComponentA from '[path]';
const components = { ComponentA };
export default {
components: { ...components },
};
|
然后就可以在method中通过名称ComponentA获取到组件模板,通过事件总线传给EnlargeWrapper.handler;
1
2
3
4
5
6
7
8
9
10
| export default {
methods: {
enlarge(id) {
const component = components[id];
const el = this.$refs[id];
this.$bus.emit('enlarge', component, el.clientWidth, el.clientHeight);
}
}
}
|
优点:在不依赖其他组件运行的情况下,可以最大程度地复刻目标模块,保留一切交互。
缺点:会出现组件初挂载的加载过程;如果没有单独处理,不能体现放大时的组件状态;需要更改父组件,代码会更复杂。
结论
在本应用的情况下,方法一和方法二都出现了比较明显的实现偏差,但是对于方法三的实施条件充足,因此最终使用的是方法三。
但是,根据不同的应用情况和需求,您可以参考这三种方法来选择最合适的解决方案。希望这些思路能帮到您。


